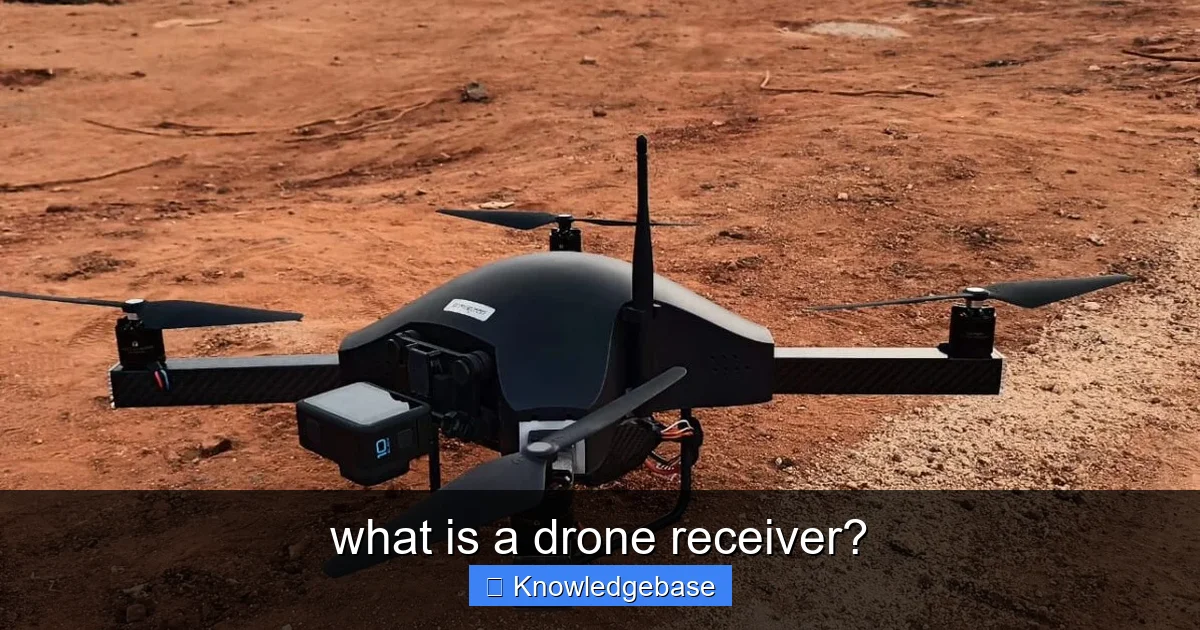
Featured image for this comprehensive guide about what is a drone receiver?
Image source: dronelife.com
In the exhilarating world of drones, where innovation takes flight daily, there’s one unsung hero working tirelessly behind the scenes: the drone receiver. You might spend hours researching powerful motors, high-definition cameras, or sleek frame designs, but without a robust and reliable receiver, your drone is little more than an expensive paperweight. It’s the critical link, the silent interpreter, transforming your commands into aerial ballet.
Imagine trying to talk to someone without them being able to hear you. Frustrating, right? That’s precisely the situation a drone faces without its receiver. This tiny yet mighty component is the bridge between your remote control (transmitter) and your drone’s flight controller, translating your stick movements and button presses into actionable instructions for the motors, servos, and other systems. Understanding what is a drone receiver and how it functions is not just for enthusiasts; it’s essential for anyone who wants to build, maintain, or even just confidently fly a drone.
This comprehensive guide will demystify the drone receiver, exploring its core functions, internal components, various types, and how to choose the best one for your aerial adventures. We’ll also cover crucial aspects like installation, binding, and common troubleshooting tips to ensure your drone always responds precisely to your every whim. Get ready to dive deep into the heart of drone communication and elevate your understanding of these incredible flying machines!
Quick Answers to Common Questions
What is a drone receiver?
Think of a drone receiver as the “ears” of your drone! It’s an essential electronic component that listens for commands and signals from your remote controller.
What does a drone receiver actually do?
It decodes the radio signals sent by your drone controller, translating your joystick movements into instructions that your drone’s flight controller can understand. This is how your drone knows to go up, down, or turn!
Why is a drone receiver so important for my drone?
Without a working drone receiver, your drone would just sit there! It’s the critical link that allows you to fly and maneuver your drone, ensuring it responds to your commands in real-time.
Where can I find the drone receiver on my drone?
Typically, the drone receiver is a small module tucked inside the drone’s frame, often connected directly to the flight controller. It might have tiny antennas poking out to get the best signal!
How does a drone receiver communicate with my remote control?
Your remote controller broadcasts radio frequency signals, and the drone receiver on your drone picks these up. They’re wirelessly “bound” or “paired” together, creating a secure communication channel for reliable flight.
📋 Table of Contents
- The Core Function of a Drone Receiver: Bridging the Gap
- Anatomy of a Drone Receiver: Key Components Explained
- Types of Drone Receivers: Finding Your Perfect Match
- Key Specifications and Features to Consider When Choosing a Drone Receiver
- Installation and Binding: Getting Your Drone Receiver Ready for Flight
- Troubleshooting Common Drone Receiver Issues
- Drone Receiver Protocol Comparison Table
- Conclusion: The Unseen Hero of Your Aerial Adventures
The Core Function of a Drone Receiver: Bridging the Gap
At its heart, a drone receiver is exactly what its name implies: a device designed to receive signals. Specifically, it receives radio frequency (RF) signals transmitted by your remote controller. Think of it as the drone’s ears, constantly listening for instructions from its pilot. Without a properly functioning RC receiver, your drone would simply hover or sit idle, oblivious to your input.
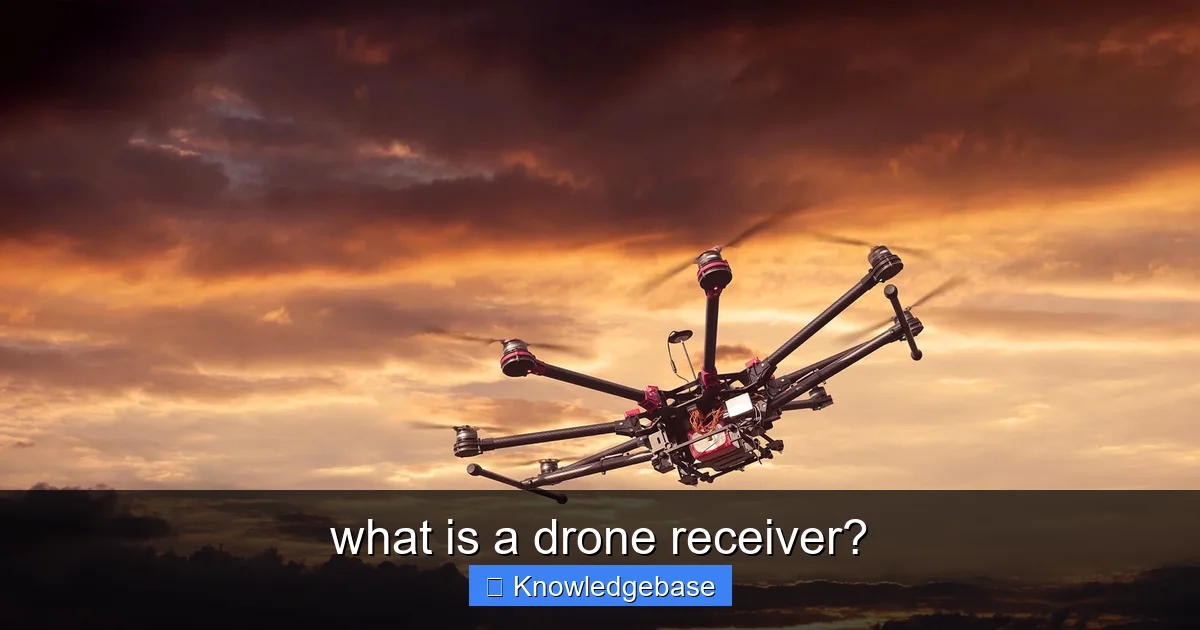
Learn more about what is a drone receiver? – what is a drone receiver?
Image source: dronebelow.com
The primary job of the drone receiver is to establish and maintain a reliable communication link. This link is non-negotiable for safe and effective drone operation. From the moment you power on your drone and transmitter, these two devices work in harmony, creating a dedicated channel through which commands flow seamlessly. This crucial piece of technology ensures that when you push the throttle up, the drone responds by ascending, or when you move the yaw stick, it rotates as expected.
| Component Aspect | Function/Role | Common Specifications / Benefits |
|---|---|---|
| Core Purpose | Converts radio frequency (RF) signals from the remote controller into digital commands for the drone’s flight controller. | Enables stable, real-time control over the drone’s movements and functions. |
| Operating Frequency | The specific radio band used for receiving control signals from the transmitter. | Typically 2.4 GHz (most common) or 900 MHz (for long-range); affects range and interference. |
| Control Channels | Represents the number of independent control functions the receiver can process simultaneously. | Commonly 4 to 16+ channels; allows control of throttle, roll, pitch, yaw, camera, lights, etc. |
| Output Protocols | The digital format/language used by the receiver to send data to the flight controller. | e.g., SBUS, PPM, DSMX, CRSF; impacts speed, latency, and channel support. |
| Operational Range | The maximum distance over which a reliable signal connection can be maintained. | Ranges from 500m to 7km+ (depends on environment, antenna, power); crucial for safe flight limits. |
| Fail-Safe Function | A pre-programmed safety response initiated when the receiver loses signal from the transmitter. | Essential for preventing flyaways; actions like Return-To-Home (RTH), auto-land, or motors off. |
How a Receiver Works in Tandem with a Transmitter
The entire control system relies on a two-way communication dance between your remote control (transmitter) and the drone receiver. When you manipulate the gimbals or press buttons on your transmitter, it converts these physical inputs into digital signals. These digital signals are then modulated onto a radio frequency carrier wave and broadcast wirelessly into the air.
The drone receiver, equipped with its antenna, captures these incoming RF signals. It’s tuned to the specific frequency and protocol used by your transmitter. Once the signal is received, the receiver’s internal electronics go to work, demodulating and decoding the information. It translates the raw radio waves back into meaningful digital data that the drone’s flight controller can understand. This process happens in milliseconds, ensuring real-time responsiveness from your drone.
The Critical Role of Signal Interpretation
Once the drone receiver has successfully captured and decoded the radio signal, its next vital step is signal interpretation. The decoded data isn’t just random bits of information; it’s a precisely structured set of commands. These commands typically represent the desired position of control surfaces (like ailerons, elevators, rudder in fixed-wing aircraft) or the desired thrust for each motor in a multirotor drone. For instance, a command might indicate “increase motor 1 speed by X percent” or “tilt forward by Y degrees.”
The receiver then sends these interpreted commands to the flight controller, often through various communication protocols (which we’ll explore later). The flight controller, acting as the drone’s brain, takes these commands, processes them alongside sensor data (like gyroscopes and accelerometers), and then sends appropriate power signals to the Electronic Speed Controllers (ESCs), which in turn power the motors. This intricate chain of communication, starting with the drone receiver, is what enables precise and stable flight.
Anatomy of a Drone Receiver: Key Components Explained
While often appearing as a small, unassuming black box, a drone receiver is a marvel of miniaturized engineering. Each component plays a vital role in its ability to capture, decode, and transmit your commands. Understanding these parts helps in troubleshooting and making informed choices about your setup.
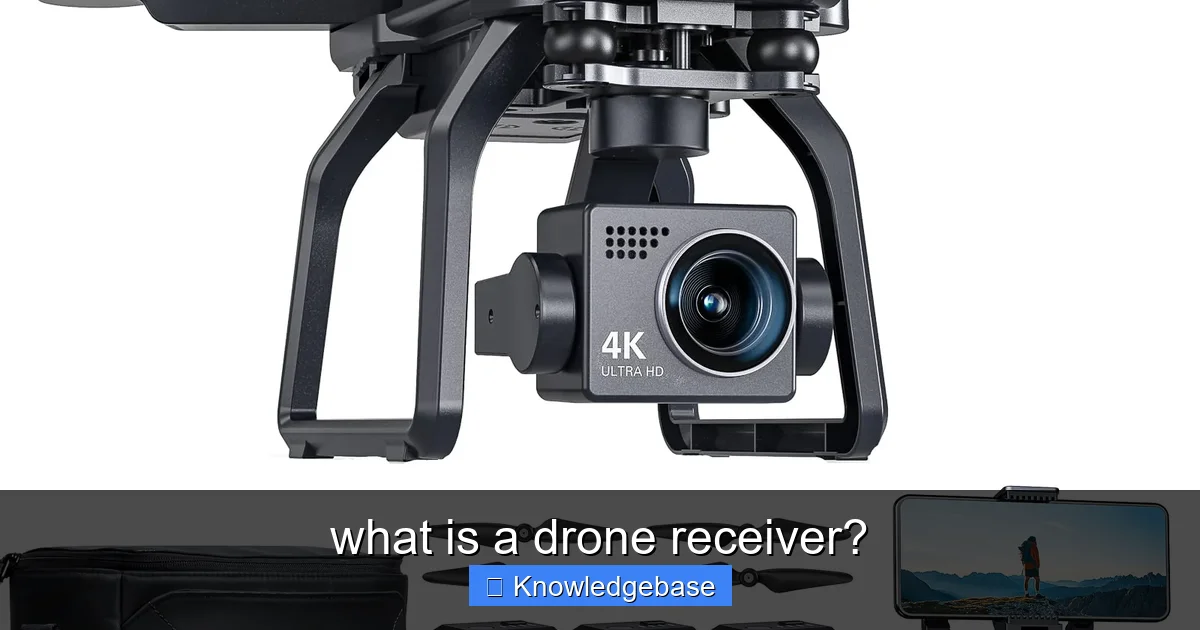
Learn more about what is a drone receiver? – what is a drone receiver?
Image source: m.media-amazon.com
Antennas: The Ears of Your Drone
Just like our ears, antennas are the primary interface for receiving signals. Most drone receivers come with one or two antennas, typically small wires (often coaxial) that protrude from the receiver unit. The design and placement of these antennas are crucial for signal reception quality and range. Diversity receivers, for example, use two antennas to improve signal reliability by picking the stronger signal from either. Proper antenna placement – away from carbon fiber and metal, ideally at a 90-degree angle to each other if using two – significantly impacts your control range and signal strength. Common frequencies for RC control include 2.4 GHz, 900 MHz, and 5.8 GHz, each with its own characteristics regarding range and penetration.
RF Module: Decoding the Airwaves
The Radio Frequency (RF) module is the core electronic circuitry responsible for processing the incoming radio waves. When the antenna captures an RF signal, it’s fed into the RF module. Here, the signal is amplified, filtered to remove noise, and then demodulated. Demodulation is the process of extracting the original information (your control commands) from the carrier wave. This complex task is performed by specialized chips within the RF module, making it arguably the most critical part of the drone receiver.
Microcontroller: The Brain Behind the Brawn
After demodulation, the raw data needs to be organized and translated into a format the flight controller can understand. This is where the microcontroller comes in. It’s essentially a tiny computer chip that processes the decoded information, handles the specific communication protocol (like SBUS, PPM, PWM), and prepares it for output. The microcontroller also manages other features like failsafe settings, binding procedures, and potentially telemetry data. It’s the “brain” that orchestrates the flow of data within the drone receiver.
Output Ports: Connecting to the Flight Controller
Finally, the processed control signals need to be sent to the flight controller. This happens via the receiver’s output ports. Depending on the type of drone receiver and its protocol, these ports can vary. Older PWM receivers have multiple individual pins, one for each channel (throttle, roll, pitch, yaw, etc.). Newer serial receivers (like SBUS, CRSF, ELRS) often have a single output port, simplifying wiring and reducing latency. These ports are where you connect the receiver to the flight controller, completing the crucial communication chain within your drone.
Types of Drone Receivers: Finding Your Perfect Match
The evolution of drone receiver technology has led to several different types, each with its own advantages and disadvantages. Choosing the right one depends on your drone’s flight controller, your transmitter, and your specific needs regarding latency, range, and wiring complexity.
PWM (Pulse Width Modulation) Receivers
PWM receivers are among the oldest and most basic types. They output a separate wire and signal for each control channel (e.g., one wire for throttle, one for roll, one for pitch, etc.). This means a 6-channel PWM receiver would require 6 individual wires connecting to your flight controller. While simple and reliable, their main drawbacks are the high number of wires (leading to cluttered builds) and slightly higher latency due to sequential signal transmission. They are less common in modern FPV drones but still found in some older or simpler setups.
PPM (Pulse Position Modulation) Receivers
An improvement over PWM, PPM receivers consolidate all control channels into a single wire. Instead of sending each channel’s signal separately, PPM encodes the information for multiple channels into a single, continuous pulse train. This significantly reduces wiring complexity (one wire instead of many) and often offers slightly lower latency than PWM. PPM was a popular choice for a while but has largely been superseded by more advanced serial protocols for high-performance drones.
SBUS (Serial Bus) Receivers
Developed by Futaba, SBUS receivers are a widely adopted serial protocol known for their efficiency and speed. Like PPM, SBUS transmits all channel data over a single wire, but it does so digitally and at a much higher refresh rate. This results in significantly lower latency and more precise control, making it a favorite among FPV racers and freestyle pilots. Most modern flight controllers natively support SBUS, making integration straightforward.
DSMX/DSM2 (Digital Spectrum Modulation) Receivers
DSMX and DSM2 are proprietary protocols primarily used by Spektrum brand transmitters and receivers. They utilize spread spectrum technology for robust signal reliability, hopping across multiple frequencies to minimize interference. DSMX is an evolution of DSM2, offering greater channel count and improved performance in busy RF environments. Like SBUS, they are serial protocols, offering single-wire connectivity for multiple channels, though they typically require a specific UART (Universal Asynchronous Receiver-Transmitter) on the flight controller.
CRSF (Crossfire) and ELRS (ExpressLRS) Receivers: The New Frontier
These two protocols represent the cutting edge in drone control. Both Crossfire (by Team BlackSheep) and ExpressLRS are Long-Range (LR) radio systems designed for maximum range, superior penetration, and extremely low latency. They operate on different frequencies (typically 900 MHz or 2.4 GHz for ELRS, 868/915 MHz for Crossfire), offer incredible signal resilience, and provide full telemetry feedback. ExpressLRS, being open-source, has gained immense popularity for its performance-to-cost ratio, making long-range, high-performance flying accessible to more pilots. These systems are the go-to choice for serious FPV pilots and long-range explorers.
Key Specifications and Features to Consider When Choosing a Drone Receiver
Selecting the right drone receiver isn’t just about compatibility; it’s about optimizing your drone’s performance and ensuring a safe, enjoyable flight experience. Several key specifications and features should guide your decision.
Range and Power Output: How Far Can You Go?
The range of your drone receiver dictates how far you can fly your drone while maintaining a reliable connection. This is heavily influenced by the receiver’s sensitivity and the transmitter’s power output. Systems like Crossfire and ExpressLRS excel here, offering kilometers of range, thanks to their lower operating frequencies and advanced signal processing. For casual backyard flying, standard 2.4 GHz systems might suffice, but for FPV exploration or long-distance flights, investing in a long-range system is paramount. Always check the advertised range and consider factors like antenna gain and environmental interference.
Latency: The Speed of Response
Latency refers to the delay between your input on the transmitter and the drone’s response. In high-performance flying, especially FPV racing or precision freestyle, every millisecond counts. Low latency translates to a more direct and responsive feel, giving you better control. Modern serial protocols like SBUS, CRSF, and ELRS offer significantly lower latency compared to older PWM or PPM systems. For example, ExpressLRS can achieve refresh rates as high as 1000 Hz (1ms latency), providing an almost instantaneous connection between your sticks and your drone.
Failsafe Mechanisms: Your Drone’s Emergency Plan
A failsafe mechanism is a crucial safety feature. It’s what your drone does if it loses connection with your transmitter. A well-configured failsafe can prevent your drone from flying away or crashing uncontrollably. Common failsafe actions include:
- Drop (No Pulse): Motors stop instantly. Suitable for very short distances over open ground.
- Hover/Return-to-Home: For GPS-equipped drones, the drone can attempt to hover in place or fly back to its launch point.
- Land: The drone slowly descends and lands at its current position.
Always ensure your drone receiver supports a robust failsafe and configure it carefully in your flight controller software before your first flight.
Telemetry: Getting Data Back to You
Telemetry is the ability of the drone receiver to send data back to your transmitter. This can include vital information such as battery voltage, RSSI (Received Signal Strength Indicator), GPS coordinates, flight mode, and more. Telemetry is incredibly useful for monitoring your drone’s health in real-time and receiving warnings about critical conditions (e.g., low battery). Most modern serial receivers, especially Crossfire and ExpressLRS, offer comprehensive telemetry features, displaying data directly on your transmitter screen or sending audible alerts.
Compatibility: Ensuring Seamless Integration
The most important consideration is compatibility. Your drone receiver must be compatible with your transmitter’s brand and protocol. A Spektrum receiver won’t work with a FrSky transmitter, for instance. Similarly, ensure your flight controller supports the output protocol of your chosen receiver (e.g., does it have a dedicated SBUS or UART port for CRSF/ELRS?). Always check the specifications of all your components before making a purchase to avoid frustrating compatibility issues.
Installation and Binding: Getting Your Drone Receiver Ready for Flight
Once you’ve chosen your ideal drone receiver, the next steps involve physical installation and electronic binding. These processes are critical for establishing the communication link and integrating the receiver into your drone’s ecosystem.
Physical Installation: Where to Put It
The physical placement of your drone receiver within the drone’s frame is more important than you might think.
- Clear Line of Sight: Ideally, the antennas should have as much unobstructed exposure to the air as possible. Avoid placing them directly beneath carbon fiber, batteries, or other large metallic components, which can block or attenuate signals.
- Antenna Orientation: If your receiver has two antennas, try to orient them at roughly 90 degrees to each other. This creates antenna diversity, improving signal reception in various orientations as your drone maneuvers.
- Secure Mounting: Use double-sided foam tape or zip ties to securely fasten the receiver to the frame. Vibration can stress solder joints or even cause intermittent signal issues.
- Protection: Consider using heat shrink tubing or a small plastic enclosure to protect the receiver from environmental elements like dust, moisture, and prop strikes.
Wiring Diagrams: Connecting the Dots
Connecting the drone receiver to the flight controller requires careful attention to wiring. Always consult the wiring diagrams provided by both your receiver and flight controller manufacturers.
- Power (VCC): Connect the receiver’s power input (typically 5V) to a 5V pad on your flight controller.
- Ground (GND): Connect the receiver’s ground to a GND pad on your flight controller.
- Signal: This is where the protocol matters.
- PWM: Multiple signal wires, each going to a specific motor input or channel input on the flight controller.
- PPM/SBUS/DSMX/CRSF/ELRS: A single signal wire connects to a designated UART RX pad on the flight controller. Ensure you know which UART you’re using.
- Telemetry (Optional): If your receiver supports telemetry, it will often have a separate TX pad that connects to a UART TX pad on your flight controller.
Double-check all connections before applying power to avoid damage.
The Binding Process: Linking Transmitter and Receiver
Binding is the crucial step of “pairing” your drone receiver with your specific remote control transmitter. This creates a unique link, ensuring your drone only responds to your commands and not someone else’s.
- Binding Button/Jumper: Most receivers have a small binding button or require a “bind plug” (a jumper wire) to be inserted into specific pins.
- Power Up Receiver in Bind Mode: With the bind button pressed (or plug inserted), power up the drone receiver. It will usually blink rapidly, indicating it’s in bind mode.
- Activate Bind Mode on Transmitter: Go into your transmitter’s settings menu and select “Bind” for the model you wish to link.
- Confirmation: Once successful, the receiver’s LED will typically turn solid or change to a slow blink, indicating a successful bind. Remove the bind plug if used.
- Test: Always power cycle both the transmitter and receiver, then test all controls to ensure proper function before flying.
Configuration in Flight Controller Software
After physical installation and binding, the final step is to configure the drone receiver in your flight controller software (e.g., Betaflight, iNav, ArduPilot).
- Select Receiver Protocol: In the “Configuration” tab, select the correct receiver protocol (e.g., SBUS, CRSF, SPEKTRUM) that matches your receiver.
- Assign Channels: Map the channels from your receiver to the correct functions (throttle, roll, pitch, yaw) on your flight controller. Most modern setups automatically handle this, but it’s good to verify.
- Set Failsafe: Configure your failsafe behavior (e.g., land, drop, return-to-home) in the “Failsafe” tab. This is vital for safety.
- Telemetry (if applicable): Enable telemetry on the correct UART port if your setup supports it.
Always save and reboot your flight controller after making changes.
Troubleshooting Common Drone Receiver Issues
Even with the most meticulous setup, issues can arise. Knowing how to troubleshoot common drone receiver problems can save you a lot of frustration and keep your drone flying. Here are some of the most frequent challenges and their solutions.
No Signal/Loss of Connection
This is arguably the most common and concerning issue. If your drone isn’t receiving commands, it’s either unresponsive or entering failsafe.
- Check Binding: The most obvious cause. Ensure your receiver is properly bound to your transmitter. Re-bind if necessary.
- Transmitter Power: Is your transmitter on and fully charged? A dead transmitter means no signal.
- Antenna Issues:
- Are receiver antennas properly connected and undamaged? Frayed or cut antennas drastically reduce range.
- Are they positioned correctly (away from carbon, at 90-degree angles if diversity)?
- Power to Receiver: Verify the receiver is receiving 5V power from the flight controller or BEC. Check wiring connections.
- Interference: Are you flying in an area with heavy Wi-Fi, other RC signals, or high electrical interference? Try a different location.
- Range Check: Perform a range check (if your transmitter has one) to identify potential signal issues before flight.
Unresponsive Controls
Your drone powers on, but the sticks do nothing, or only some controls work.
- Flight Controller Software:
- Check the “Receiver” or “Motors” tab in Betaflight/iNav/ArduPilot. Do you see stick inputs responding?
- Is the correct receiver protocol selected (SBUS, CRSF, etc.)?
- Are the channels mapped correctly? Throttle might be mapped to roll, for example.
- Wiring: Double-check the signal wire from the receiver to the flight controller. Is it connected to the correct UART RX pad? Is it firmly seated?
- Binding: A partial bind or corruption in the bind can sometimes cause this. Re-bind your receiver.
- Mode Issues: Ensure your flight mode switches are correctly configured and you’re not in an arming disallowed state.
Intermittent Glitches
Your drone briefly loses signal, twitches, or has momentary control lapses.
- Poor Antenna Placement: Carbon fiber frames can shield antennas. Re-position them for better exposure.
- Loose Connections: Check all wiring, especially signal, power, and ground, for any loose solder joints or connectors.
- Vibrations: Excessive vibrations can affect electronics. Ensure the receiver is securely mounted and motors/props are balanced.
- RF Noise: Check for noisy components near the receiver (e.g., ESCs, VTX). Try to separate them or shield the receiver. Capacitors on ESCs can help reduce electrical noise.
- Overheating: Ensure adequate airflow around the receiver, especially in tight builds.
Failsafe Activation (Unexpectedly)
Your drone unexpectedly executes its failsafe routine, even when you’re seemingly in range.
- Actual Signal Loss: While unexpected, it could be a brief, genuine signal loss. Review antenna placement and range.
- Low RSSI Threshold: Your flight controller might be triggering failsafe when the Received Signal Strength Indicator (RSSI) drops below a set threshold. Adjust this threshold carefully in your flight controller software.
- Brownout/Power Glitch: A momentary power drop to the receiver can cause it to restart, triggering failsafe. Ensure your BEC provides stable 5V power to the receiver.
- Firmware Bug: Occasionally, a firmware bug in the flight controller or receiver could cause this. Ensure all components are running the latest stable firmware.
Troubleshooting often involves a process of elimination. Start with the simplest checks and gradually move to more complex diagnostics. Patience and systematic checking are your best allies.
Drone Receiver Protocol Comparison Table
To help you visualize the differences and benefits of various drone receiver protocols, here’s a comparative table highlighting their key characteristics.
| Protocol | Wiring Complexity | Latency | Channel Count | Telemetry | Range | Common Use Cases |
|---|---|---|---|---|---|---|
| PWM | High (1 wire/channel) | High | Limited (6-8 typical) | No | Medium | Older, simpler drones; fixed-wing; servos |
| PPM | Medium (1 signal wire) | Medium | Up to 8-12 | No | Medium | Older multirotors; budget builds |
| SBUS | Low (1 signal wire) | Low | Up to 16-18 | Limited (basic RSSI) | Medium | FPV racing/freestyle; general modern drones |
| DSMX/DSM2 | Low (1 signal wire) | Low | Up to 11-22 | Yes (proprietary) | Medium | Spektrum users; various drone types |
| CRSF (Crossfire) | Very Low (1 signal wire) | Very Low | Up to 16 | Full | Very High (km+) | Long-range FPV; cinematic drones; serious FPV pilots |
| ELRS (ExpressLRS) | Very Low (1 signal wire) | Extremely Low | Up to 16 | Full | Very High (km+) | FPV racing/freestyle; long-range; cutting-edge performance |
Note: Latency values are relative; “Low” is better than “Medium,” and “Extremely Low” is best. Range can vary significantly based on specific models, antenna quality, and environmental factors.
Conclusion: The Unseen Hero of Your Aerial Adventures
From navigating complex maneuvers to executing breathtaking aerial footage, the reliability of your drone hinges significantly on one often-overlooked component: the drone receiver. We’ve journeyed through its fundamental role, delved into its intricate anatomy, explored the diverse landscape of receiver types, and armed you with the knowledge to make informed decisions about specifications, installation, and troubleshooting.
Understanding what is a drone receiver is more than just technical knowledge; it’s about gaining confidence in your equipment and ensuring the safety and predictability of your flights. Whether you’re a beginner just getting started or an experienced pilot pushing the limits of long-range FPV, a robust and correctly configured RC receiver is the silent guardian of your aerial ambitions. By prioritizing a quality receiver and mastering its setup, you empower your drone to respond flawlessly to your every command, transforming your intentions into reality high above the ground.
So, the next time you marvel at a drone gracefully soaring through the sky, remember the unsung hero tucked away inside – diligently listening, interpreting, and connecting you to your incredible flying machine. Fly safe, fly smart, and always keep that crucial link strong!
🎥 Related Video: Drone Receiver Board
📺 RR nano Tech
Drone receiver board syma x20 receiver board ka unboxing kiya hi hamen. How to unboxing syma x20 Board #drone #syma …
Frequently Asked Questions
What exactly is a drone receiver?
A drone receiver is an essential electronic component on your drone that captures radio signals sent from your remote control (transmitter). It acts as the “ears” of your drone, translating your stick movements and commands into instructions the drone’s flight controller can understand and execute. Without a receiver, your drone wouldn’t know how to respond to your inputs.
How does a drone receiver communicate with the remote control?
The drone receiver communicates by listening for radio frequency (RF) signals transmitted by your remote control. Once received, it decodes these signals into digital data, which is then sent to the flight controller. This process allows for real-time control, enabling you to steer, ascend, descend, and perform other maneuvers.
What are the main types of drone receivers?
Drone receivers are primarily categorized by the communication protocol they support, such as FrSky (ACCST/ACCESS), Crossfire, ELRS (ExpressLRS), and Spektrum. Each protocol offers different features regarding range, latency, and telemetry capabilities, and requires a compatible transmitter module. Choosing the right type depends on your specific remote control and flying needs.
Why is a drone receiver so crucial for drone operation?
The drone receiver is crucial because it’s the primary link between you and your drone, enabling direct control. Without it, the drone would be unable to receive any commands from your remote, making it impossible to fly safely or intentionally. It ensures the drone responds precisely to your inputs for a controlled flight experience.
Can I use any drone receiver with my remote controller?
No, generally you cannot use any drone receiver with any remote controller. Both the receiver and the remote control must support the same communication protocol (e.g., FrSky, ELRS, Crossfire) and often need to be “bound” or paired together. Using incompatible components will prevent them from communicating, making flight impossible.
Where is the drone receiver typically installed on the drone?
The drone receiver is typically installed inside the drone’s frame, often mounted securely near the flight controller or in a position that provides good antenna reception. Its small size allows it to fit into tight spaces, and it’s usually protected from physical damage within the drone’s casing. The antennas are often positioned externally for optimal signal capture.


