Featured image for this comprehensive guide about what is dji dng cleaner?
Image source: stormsend1.djicdn.com
What is DJI DNG Cleaner? Unlocking the Full Potential of Your Drone RAW Files
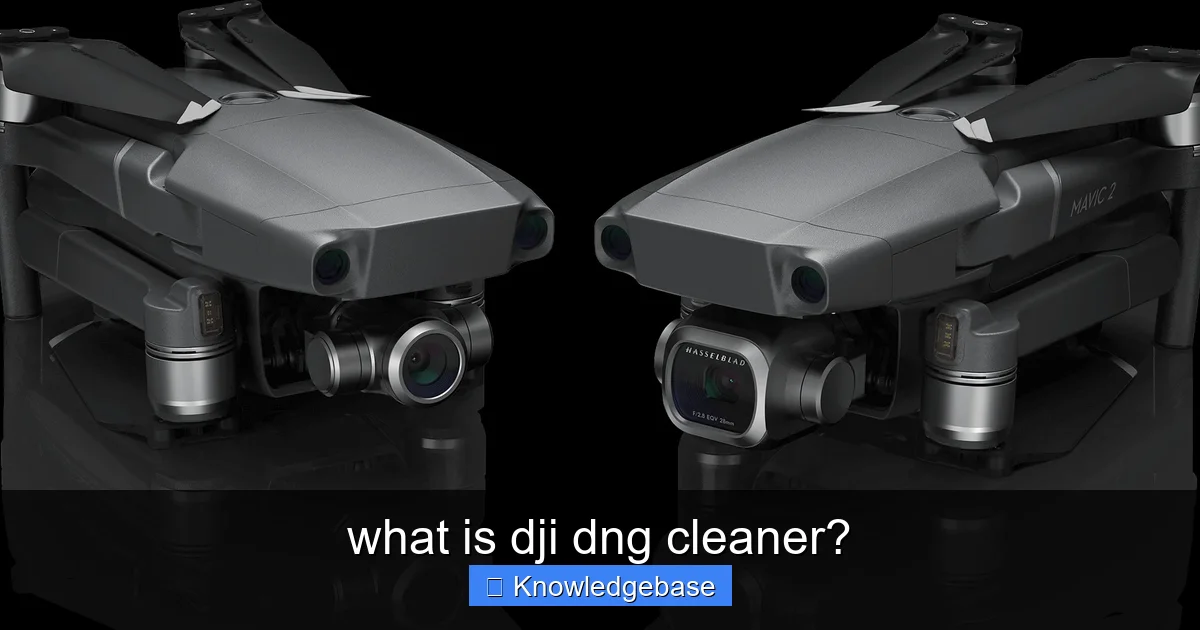
As a drone enthusiast or professional, you’re likely familiar with the stunning aerial imagery captured by DJI’s industry-leading drones. From the cinematic prowess of the Mavic series to the unparalleled detail from the Matrice and Inspire lines, DJI drones are a gateway to breathtaking perspectives. Many serious photographers opt to shoot in RAW format, specifically DNG, to maximize post-processing flexibility. But here’s a common challenge: these high-quality DJI DNG files are massive, resource-intensive, and can sometimes carry unnecessary data, cluttering your workflow and storage.
Enter the concept of a DJI DNG Cleaner. While not a single, official DJI-branded software application, “DJI DNG Cleaner” refers to a vital collection of techniques, tools, and best practices designed to optimize, refine, and streamline your DJI DNG workflow. It’s about more than just deleting files; it’s about intelligently managing your most valuable assets – your RAW images – ensuring they are lean, efficient, and ready for professional-grade editing. This comprehensive guide will demystify the world of DNG optimization, revealing why it’s crucial for every DJI drone photographer and how you can implement effective “cleaning” strategies.
Whether you’re struggling with slow loading times in your editing software, running out of storage space, or simply want to elevate the quality and efficiency of your post-production, understanding and applying the principles of a DJI DNG Cleaner is your next essential step. Let’s dive deep into transforming your aerial photography workflow from cumbersome to cutting-edge.
Quick Answers to Common Questions
What exactly is DJI DNG Cleaner?
DJI DNG Cleaner is a handy, unofficial utility designed to reduce the file size of DNG (RAW) images captured by DJI drones. It works by safely removing unnecessary, embedded data without affecting the image quality.
Why would I need to use DJI DNG Cleaner?
You’d use DJI DNG Cleaner primarily to save significant storage space on your hard drive or cloud services. DJI DNG files can be quite large, and this tool helps make them more manageable.
Does DJI DNG Cleaner affect the quality of my photos?
No, DJI DNG Cleaner is specifically engineered to remove only redundant data, such as embedded JPEG previews or extra metadata that isn’t essential for RAW processing. Your actual image data and editing flexibility remain completely untouched.
Is DJI DNG Cleaner an official DJI tool?
No, DJI DNG Cleaner is not an official product from DJI; it’s a third-party, community-developed utility. Despite this, it’s widely used and trusted by many drone photographers for its effective performance.
How do I get or use DJI DNG Cleaner?
You can typically download DJI DNG Cleaner from a developer’s GitHub page or a reputable drone photography forum. Once you have it, you simply open the application, select your folder of DNG files, and let it do its magic.
📋 Table of Contents
- What Exactly Are DJI DNG Files and Why Do They Matter?
- The “Problem” with DJI DNGs: Why You Need a “Cleaner”
- Understanding “DJI DNG Cleaner”: A Conceptual Toolkit, Not Just One App
- Key Strategies and Tools for Effective DJI DNG Cleaning and Optimization
- Step-by-Step Workflow: Integrating DNG Cleaning into Your DJI Photography Process
- Beyond Cleaning: Maximizing Your DJI DNGs Post-Cleanup
- Conclusion: Empowering Your DJI DNG Workflow
What Exactly Are DJI DNG Files and Why Do They Matter?
Before we talk about cleaning, let’s establish a solid understanding of what we’re working with. DNG stands for Digital Negative, an open, non-proprietary RAW image format developed by Adobe. When your DJI drone captures an image in DNG format, it saves virtually all the unprocessed data directly from the camera’s sensor. Unlike JPEGs, which are compressed and processed in-camera (losing significant data), DNGs offer a wealth of information, making them the preferred choice for serious photographers.
Learn more about what is dji dng cleaner? – what is dji dng cleaner?
Image source: www1.djicdn.com
The Unrivaled Benefits of Shooting DJI DNG
- Maximum Detail Retention: DNG files contain far more tonal and color information than JPEGs, allowing for greater dynamic range recovery in shadows and highlights. This is particularly crucial for challenging aerial scenes with vast differences in light.
- Superior Color Accuracy: Without in-camera processing, you have full control over white balance and color profiles, ensuring your final images accurately reflect your creative vision.
- Greater Editing Latitude: Want to push the exposure, adjust contrast, or recover blown-out skies? DNGs give you unparalleled flexibility without introducing significant image degradation.
- Future-Proofing: As an open standard, DNG is designed to be universally compatible with various software applications and operating systems, reducing worries about file obsolescence compared to proprietary RAW formats.
- Enhanced Noise Performance: The raw data allows for more effective noise reduction techniques in post-processing, vital for low-light drone photography.
While these benefits are undeniable, they come at a cost: file size. A single DJI DNG file can range anywhere from 40MB to over 80MB, depending on the drone model and sensor. Multiply that by hundreds or thousands of shots per project, and you quickly realize the need for efficient file management – hence the conceptual need for a DJI DNG Cleaner.
| Feature/Aspect | Description | Key Benefit | Typical Impact/Value |
|---|---|---|---|
| Core Function | A software utility designed to optimize DNG (Digital Negative) raw image files generated by DJI drones. | Improves overall image data management and preparation for post-processing. | Streamlines pre-editing workflow for drone photography. |
| File Size Reduction | Strips unnecessary embedded data, large previews, and redundant metadata from DNG files. | Saves storage space and reduces transfer/backup times. | Reduces file size by 5-25% per DNG (e.g., 40MB to 30-38MB). |
| Metadata Management | Allows for the removal or selective editing of embedded EXIF data, including sensitive GPS coordinates. | Enhances privacy and simplifies metadata for specific projects or platforms. | Removes sensitive location data from images shared publicly. |
| Workflow Efficiency | Smaller, cleaner DNG files are often processed more quickly by image editing software. | Accelerates loading, rendering, and export times in photo editors. | Potentially 10-15% faster import/preview generation in tools like Lightroom. |
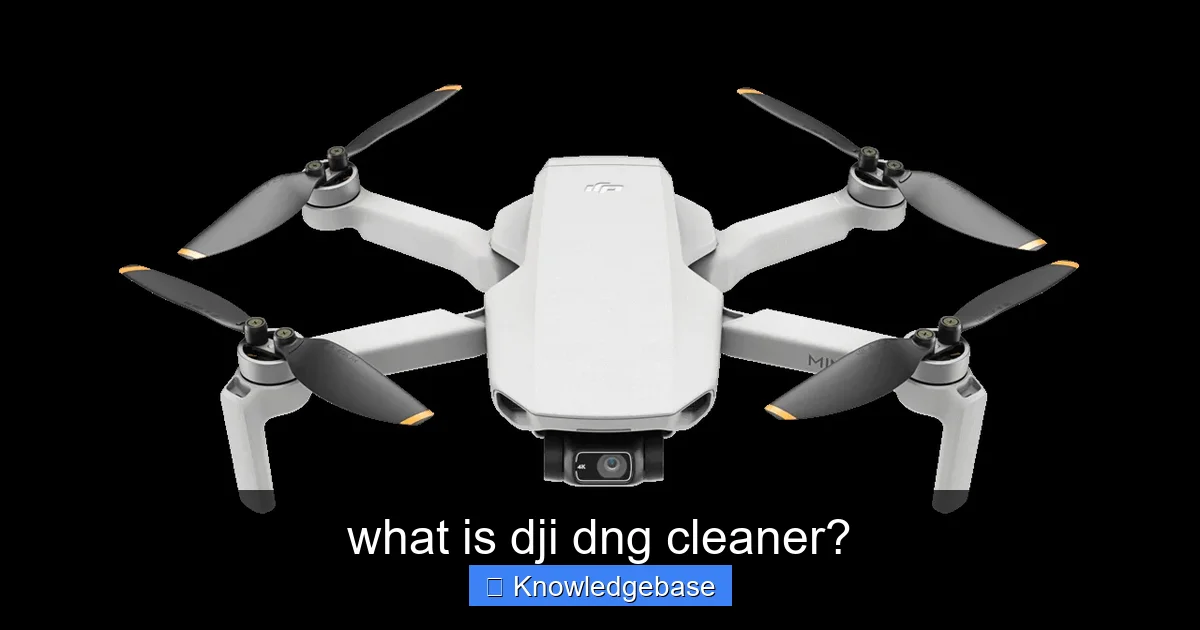
| Broad Compatibility | Supports DNG files generated by a wide range of popular DJI drone models. | Offers a versatile optimization tool for most DJI drone photographers. | Compatible with DNGs from Mavic 3, Air 2S, Mini 3 Pro, Phantom 4 Pro, etc. |
The “Problem” with DJI DNGs: Why You Need a “Cleaner”
The vast amount of data within a DNG file is both its greatest strength and its primary challenge. While essential for editing flexibility, not all this data is necessary for your final output, and some of it can even hinder your workflow. Here’s why you might need to “clean” your DJI DNG files:
Learn more about what is dji dng cleaner? – what is dji dng cleaner?
Image source: www1.djicdn.com
Common Issues Faced by DJI DNG Users
- Enormous File Sizes: As mentioned, DNGs consume significant storage space. A single flight can easily generate several gigabytes of data. Over time, this adds up to terabytes, demanding expensive storage solutions and slower backup processes.
- Metadata Bloat: DNGs contain extensive metadata, including camera settings, GPS coordinates, drone model, and even preview JPEGs. While some are useful, redundant or unneeded metadata can unnecessarily increase file size.
- Slow Software Performance: Large DNG files demand more RAM and CPU power from your editing software. This can lead to sluggish performance, frustrating lag, and longer render times, severely impacting your productivity.
- Embedded In-Camera Previews: Most DNGs include a full-resolution JPEG preview generated by the drone. While useful for quick previews, this often doubles the data for each image when you only need the RAW data for editing.
- Lens Correction Profiles: While critical for fixing optical distortions, these profiles can sometimes be embedded in a way that’s not always optimized, or you might prefer to apply them externally.
- Proprietary Data Within DNG: Although DNG is an open standard, some camera manufacturers (including DJI to some extent) might embed specific proprietary data that isn’t universally processed or is simply redundant for your workflow.
These issues collectively underscore the importance of a strategic approach to managing your DNG assets. A DJI DNG Cleaner isn’t just about deleting files; it’s about optimizing them to perform better, take up less space, and integrate seamlessly into your post-production pipeline.
Understanding “DJI DNG Cleaner”: A Conceptual Toolkit, Not Just One App
Let’s clarify a crucial point: there isn’t one official, standalone software called “DJI DNG Cleaner” provided by DJI. Instead, the term “DJI DNG Cleaner” represents a conceptual toolkit – a set of methods, third-party software applications, and best practices that drone photographers employ to manage and optimize their DJI DNG files. It’s about implementing a strategic approach to DNG workflow, combining various techniques to achieve efficiency and quality.
The Core Principles of DNG Cleaning
When we talk about “cleaning” DJI DNGs, we’re typically referring to one or more of these actions:
- Lossless DNG Compression: Reducing file size without sacrificing any original image data. This is often achieved by stripping out unnecessary embedded data.
- Metadata Stripping/Optimization: Removing redundant or sensitive metadata (e.g., specific GPS data you don’t wish to share, drone serial numbers, etc.) while retaining essential information.
- Embedded JPEG Preview Removal: Eliminating the full-resolution JPEG preview embedded within the DNG to significantly reduce file size.
- Applying DNG Profiles: Ensuring the correct color and lens correction profiles are either applied or optimized for your specific editing software.
- Noise Reduction and Sharpening Optimization: Preparing the raw file for optimal application of these techniques in post-processing.
- Batch Processing and Automation: Applying these cleaning steps to multiple files simultaneously to save time.
By understanding that “DJI DNG Cleaner” is a philosophy rather than a product, you can strategically choose the right tools and techniques that best fit your workflow and specific needs. It empowers you to take control of your RAW assets and maximize their potential.
Key Strategies and Tools for Effective DJI DNG Cleaning and Optimization
Now that we understand the “why” and “what,” let’s delve into the “how.” Implementing effective DJI DNG cleaner strategies involves utilizing a combination of software and careful workflow planning. Here are some of the most impactful methods:
1. Lossless DNG Compression and Optimization
This is arguably the most critical aspect of DNG cleaning. The goal is to reduce file size without any quality loss.
- Adobe DNG Converter: This free, official tool from Adobe is a powerhouse. It can convert proprietary RAW files to DNG, but more importantly for our purposes, it can optimize existing DNGs.
- Option: JPEG Preview – None: This single setting can often reduce DNG file sizes by 30-50% by removing the embedded full-resolution JPEG preview. The RAW data remains untouched.
- Option: Embed Original Raw File: Keep this unchecked unless you specifically need the original proprietary RAW embedded for archiving.
- Option: Use Lossy Compression: Only use this if you understand the implications. It will reduce file size even further but at the cost of some image data, making it less suitable for professional archival. For a true “cleaner,” stick to lossless options.
- Dedicated Third-Party DNG Optimizers: Software like Imagelator (previously known as DNG Cleaner Pro) or similar tools can offer more advanced or automated batch processing for DNG optimization, often providing specific features for removing particular metadata fields or optimizing specific camera sensor data. While not directly “DJI DNG Cleaner” branded, these tools effectively *act* as one for DJI files.
2. Metadata Management and Stripping
Removing unwanted metadata is another key aspect of optimizing your DJI DNG files.
- ExifTool: A powerful, open-source command-line tool for reading, writing, and editing meta information in a wide variety of files. It offers granular control to strip specific EXIF, IPTC, or XMP metadata fields from your DNGs. While it has a learning curve, it’s incredibly versatile for power users.
- Lightroom/Capture One Metadata Panels: During export, most professional editing software allows you to choose which metadata fields to include or strip from your output files (JPEGs, TIFFs, etc.). While this doesn’t “clean” the original DNG, it’s vital for controlling shared data.
3. Lens Correction and Camera Profiles
Ensuring your DNGs are correctly interpreted by your editing software is crucial for optimal results.
- Adobe Camera Raw (ACR) / Lightroom: These programs automatically apply lens correction profiles for most DJI drones, correcting distortions, chromatic aberration, and vignetting. Ensuring your software is up-to-date will ensure the latest profiles are used.
- Manual Profile Application: Sometimes, you might prefer to apply a specific custom profile or adjust the default lens corrections manually. While not “cleaning” in terms of size, it’s “cleaning” in terms of ensuring optimal image foundation.
4. Noise Reduction and Sharpening Preparation
While these are post-processing steps, optimizing your DNGs means preparing them for these actions.
- AI-Powered Noise Reduction: Tools like DxO PhotoLab’s DeepPrime, Topaz DeNoise AI, or the built-in AI noise reduction in Lightroom are incredibly effective. A “clean” DNG, free of unnecessary embedded data, allows these algorithms to work more efficiently on the pure image data.
- Careful Initial Sharpening: Avoid over-sharpening in-camera if possible. The raw data of a DNG provides the best canvas for applying precise sharpening during editing.
Key “Cleaning” Actions and Their Benefits
Here’s a quick overview of what a DJI DNG cleaner workflow typically addresses and the advantages:
| DNG Issue / Bloat | “Cleaning” Action | Benefit for DJI DNGs |
|---|---|---|
| Large embedded JPEG previews | Remove (e.g., via DNG Converter) | 30-50% file size reduction, faster loading in some viewers |
| Excessive/redundant metadata | Strip specific fields (ExifTool) | Reduced file size, improved privacy, cleaner data for cataloging |
| Sub-optimal compression | Apply lossless compression (DNG Converter) | Smaller files without quality loss, better storage efficiency |
| Inconsistent color interpretation | Apply correct camera profiles | Accurate color rendition, consistent starting point for editing |
| Lens distortions, CA, vignetting | Automatic/manual lens correction | Optically perfect base image, saved editing time |
| Slow software performance | Overall file size reduction | Faster import, preview generation, and editing responsiveness |
Step-by-Step Workflow: Integrating DNG Cleaning into Your DJI Photography Process
Implementing a DJI DNG cleaner workflow doesn’t have to be daunting. Here’s a practical, step-by-step guide to integrate these optimization techniques into your aerial photography post-production:
Phase 1: Pre-Import & Initial Cleanup
- Transfer & Backup: First, transfer all your DJI DNG files from your drone’s SD card to a primary working drive and immediately create a backup (e.g., to an external HDD or cloud storage).
- Initial Culling (Optional but Recommended): Before full optimization, do a quick pass to delete any obviously bad shots (blurry, misframed, accidental). This saves you from cleaning files you won’t use.
- Adobe DNG Converter Optimization:
- Launch Adobe DNG Converter.
- Select the folder containing your DJI DNGs.
- Choose a destination folder for the optimized DNGs (e.g., a subfolder like “Optimized_DNGs”).
- In the “Preferences” or “Change Preferences” dialog, set the “JPEG Preview” to “None” and ensure “Embed Original Raw File” is unchecked.
- Click “Convert.” This process will create smaller, cleaner DNGs by removing the embedded JPEG preview.
- (Advanced) Metadata Stripping with ExifTool: If you need very specific metadata stripped (e.g., GPS data for privacy), use ExifTool after the DNG Converter step. Consult ExifTool documentation for specific commands.
Phase 2: Import & Post-Processing
- Import into Editing Software: Import your newly optimized DNGs (from the “Optimized_DNGs” folder) into your preferred editing software (Lightroom Classic, Capture One, DaVinci Resolve, etc.).
- Apply Camera & Lens Profiles: Your software should automatically detect and apply the correct DJI camera and lens profiles. Verify these are applied in the Develop/Edit module.
- Perform Core Edits: Proceed with your standard post-processing workflow:
- White Balance & Color Correction
- Exposure Adjustments (Highlights, Shadows, Whites, Blacks)
- Contrast & Saturation
- Local Adjustments (Gradients, Brushes)
- Noise Reduction (especially for higher ISO shots)
- Sharpening
Phase 3: Archiving & Export
- Final Review: Carefully review your edited images for any missed adjustments or anomalies.
- Export for Usage: Export your final images to JPEG, TIFF, or other formats for web, print, or client delivery. Configure export settings to include only necessary metadata.
- Archive Optimized DNGs: Store your optimized DJI DNG files for long-term archiving. The smaller file size will make backups faster and more manageable, saving you significant storage costs over time.
- Delete Original Unoptimized DNGs: Once you’re confident in your optimized DNGs and have them safely backed up, you can delete the original, larger DNGs to free up space.
By following this workflow, you effectively use the principles of a DJI DNG Cleaner to maintain a lean, efficient, and high-quality image library.
Beyond Cleaning: Maximizing Your DJI DNGs Post-Cleanup
The journey with your DJI DNG files doesn’t end with cleaning. Once optimized, these files become a pristine canvas for further creative work. Here’s how you can go beyond basic cleanup to truly maximize the potential of your drone RAW images:
1. Develop Custom Presets for Your DJI Drone
Since your DJI drone captures images with a consistent sensor and lens characteristics, develop and save custom Lightroom or Capture One presets. These can include:
- Base Adjustments: A starting point for exposure, contrast, and white balance that often works well with your drone’s DNGs.
- Lens Correction & Profile: Ensure these are part of your default import or develop preset.
- Subtle Color Grading: A signature look that you can apply quickly to multiple images.
This significantly speeds up your workflow after the DJI DNG cleaner process.
2. Smart Archiving Strategies
With smaller, optimized DNGs, your archiving becomes far more efficient.
- Hierarchical Storage Management (HSM): Implement a system where frequently accessed files are on faster storage (SSD) and less frequently accessed (archived) files are on slower, cheaper storage (HDDs, cloud).
- Cloud Integration: Utilize cloud storage solutions (Google Drive, Dropbox, Backblaze) for off-site backups of your optimized DNGs. Their smaller size means faster uploads and less bandwidth consumption.
- Cataloging Software: Use Lightroom Classic, Photo Mechanic, or similar software to organize, tag, and keyword your DNG library. This ensures that even years down the line, you can quickly find specific aerial shots.
3. Leveraging Advanced AI Tools
Modern AI-powered tools can further enhance your cleaned DNGs.
- AI Denoising: Tools like Topaz DeNoise AI or DxO PhotoLab’s DeepPRIME work exceptionally well on clean RAW files, recovering detail and eliminating noise without artifacts.
- AI Upscaling: Need to print a large image from a smaller sensor drone? Tools like Topaz Gigapixel AI can intelligently upscale your DNGs, adding detail and sharpness.
- Sky Replacement: For challenging skies, AI-driven sky replacement (e.g., in Photoshop or Luminar AI) can be applied seamlessly to a well-exposed and color-corrected DNG.
4. Continuous Learning & Updates
The world of photography software and drone technology is constantly evolving.
- Keep Software Updated: Regularly update your operating system, editing software (Lightroom, Capture One), and any DJI DNG cleaner tools you use. Updates often include better DNG support, new features, and performance improvements.
- Stay Informed: Follow photography blogs, DJI community forums, and YouTube channels to learn about new techniques and tools for DNG optimization and drone photography.
By combining efficient cleaning with smart post-processing and archiving, you’ll not only save time and storage but also elevate the final quality and longevity of your stunning DJI aerial images.
Conclusion: Empowering Your DJI DNG Workflow
In the world of aerial photography, where every pixel counts and efficiency is paramount, understanding and implementing the principles of a DJI DNG Cleaner is no longer optional—it’s essential. We’ve explored that “DJI DNG Cleaner” isn’t a single software but rather a powerful conceptual framework encompassing techniques and tools like Adobe DNG Converter, ExifTool, and other third-party optimizers, all aimed at refining your valuable RAW assets.
By systematically addressing issues like excessive file size, metadata bloat, and embedded previews, you unlock a streamlined workflow that saves significant storage space, boosts editing software performance, and ultimately empowers you to focus more on the creative aspects of post-production. Imagine faster imports, smoother editing sessions, and archiving solutions that don’t break the bank – these are the tangible benefits waiting for you.
Embrace these DNG optimization strategies today. Take control of your DJI DNG files, transform your workflow from cumbersome to cutting-edge, and ensure that every breathtaking aerial image you capture is processed to its fullest, uncompromised potential. Your drone photography deserves nothing less.
🎥 Related Video: Cleaner Drone Photos with Stacking
📺 Peter Zelinka
Stacking is a fairly well-known process to create cleaner images, whether you’re using a DSLR, Drone, or any other camera.
Frequently Asked Questions
What is DJI DNG Cleaner?
DJI DNG Cleaner is a specialized software tool designed to process and optimize DNG (Digital Negative) raw image files captured by DJI drones. It primarily focuses on removing common sensor-related artifacts and noise, such as hot pixels or fixed pattern noise, from your raw drone photos.
Why would I use a DJI DNG Cleaner for my drone photos?
You would use a DJI DNG Cleaner to improve the underlying quality of your drone’s raw images before editing. It provides a cleaner starting point for your photo editing workflow by eliminating imperfections that might otherwise be difficult or time-consuming to remove manually, resulting in more pristine final images.
How does DJI DNG Cleaner work to clean my DNG files?
The DJI DNG Cleaner analyzes the raw data within your DNG files to identify and correct specific sensor-related imperfections, like hot pixels or fixed pattern noise, which can be embedded during image capture. It applies algorithms to interpolate missing data or smooth out inconsistencies, generating a refined and cleaner DNG file.
What specific issues does DJI DNG Cleaner address in my DNG files?
DJI DNG Cleaner primarily targets sensor noise issues that can appear in raw drone images, such as dead or hot pixels and fixed pattern noise, especially noticeable in dark or underexposed areas. By removing these artifacts, it ensures a cleaner image base for professional-level photo editing, allowing your true image data to shine through.
Is using DJI DNG Cleaner a lossless process, or does it degrade image quality?
Most reputable DJI DNG Cleaner tools aim to be a lossless or minimally destructive process when it comes to the core image data, focusing only on removing identified noise and artifacts. The goal is to clean the image without compromising genuine details, but it’s always recommended to back up your original DNG files before processing any modifications.
Which DJI drones or file types are compatible with DJI DNG Cleaner?
DJI DNG Cleaner tools are typically designed for DNG files produced by various DJI drones that support raw image capture, such as the Mavic series, Phantom series, or Inspire series. It specifically targets the `.dng` raw file format generated by these drones and is not intended for JPEGs or other proprietary image formats.


