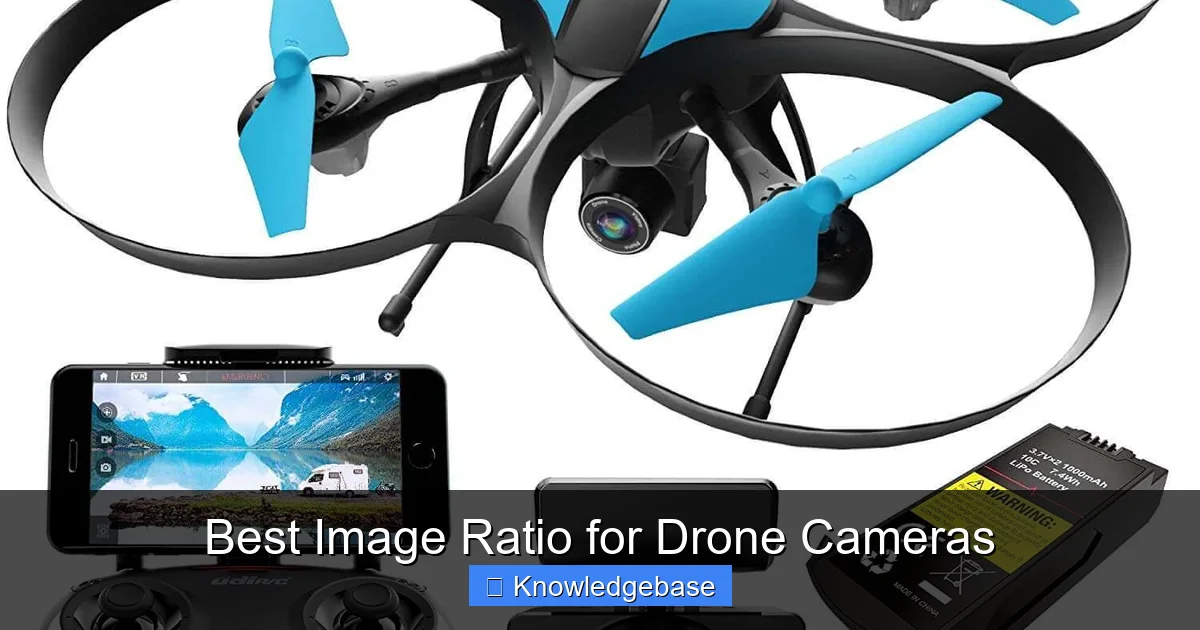
Featured image for this comprehensive guide about what’s the best image ratio for a drone camera
Image source: 149355317.v2.pressablecdn.com
In the exhilarating world of drone photography and videography, capturing breathtaking aerial vistas is just one part of the equation. Beyond mastering flight controls and understanding aperture settings, one crucial, yet often overlooked, element significantly impacts the final presentation of your work: the image aspect ratio. It dictates the shape and dimensions of your photos, influencing everything from composition and storytelling to how your images appear across various platforms, from social media feeds to large prints.
Many aspiring and even seasoned drone pilots might wonder, “what’s the best image ratio for a drone camera?” The truth is, there isn’t a single, universally “best” answer. The ideal aspect ratio is a dynamic choice, heavily dependent on your creative vision, the specific drone model you’re using, and most importantly, where your stunning aerial photographs are destined to be seen. Choosing the right ratio can elevate your imagery from good to truly exceptional, ensuring your audience experiences your work exactly as you intended.
This comprehensive guide will demystify image ratios for drone cameras, exploring the most common options, their unique advantages, and how to strategically select the perfect one for your specific projects. We’ll delve into how different ratios impact composition, prepare your images for diverse output destinations, and offer actionable tips to help you make informed decisions, ultimately enhancing the visual impact of your drone photography.
Quick Answers to Common Questions
What’s the best image ratio for a drone camera if I’m just starting out?
For most beginners, 16:9 is a fantastic all-around choice. It’s perfect for videos shared online and viewing on widescreen monitors or TVs, making your footage look instantly more cinematic.
What do aspect ratios like 4:3 and 16:9 actually mean for my drone shots?
These numbers represent the width-to-height proportion of your image. 16:9 is wider and more suited for cinematic viewing, while 4:3 is a squarer format, often preferred for its versatility in photography.
Is there a specific best image ratio for a drone camera when I’m shooting photos versus video?
Absolutely! 16:9 is generally the go-to for video to match modern screens, whereas 4:3 can be excellent for still photos, giving you more vertical space and flexibility to crop later.
What’s the most common or “professional” best image ratio for a drone camera that people use?
Many pros use both! They often leverage 16:9 for its expansive, cinematic feel in video and 4:3 for its traditional photographic appeal and versatility, especially if printing or publishing to various platforms.
How does choosing the best image ratio for a drone camera affect my shot composition?
Your chosen aspect ratio acts as your canvas, directly dictating how much horizontal versus vertical space you have. It significantly influences your framing and how elements fit within your scene, so pick one that complements your subject.
📋 Table of Contents
- Understanding Aspect Ratios: The Foundation of Drone Photography Framing
- Common Aspect Ratios in Drone Cameras and Their Applications
- Matching Your Image Ratio to Your Output Destination
- Advanced Considerations: Composition, Cropping, and Post-Processing
- Data Table: Quick Reference Guide to Aspect Ratios and Their Best Uses
- Actionable Tips for Choosing Your Best Image Ratio
- Conclusion
Understanding Aspect Ratios: The Foundation of Drone Photography Framing
Before we dive into which ratio might be the best image ratio for a drone camera, let’s establish a clear understanding of what an aspect ratio actually is and why it holds such significance in aerial imaging. It’s more than just a technical specification; it’s a fundamental creative decision.
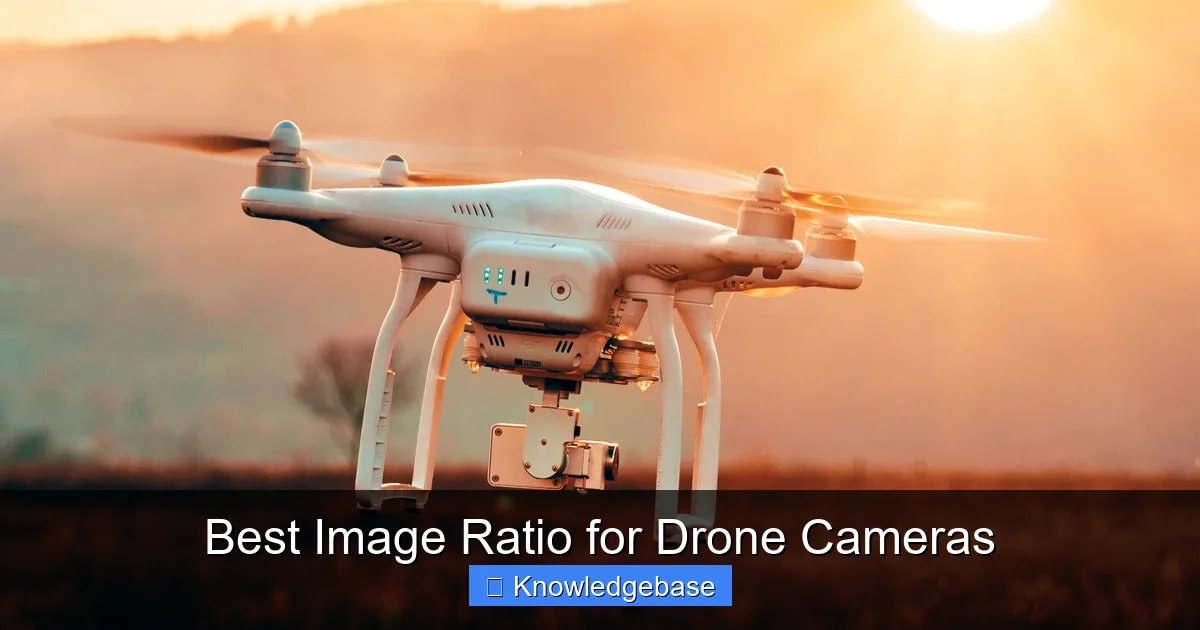
Learn more about what’s the best image ratio for a drone camera – Best Image Ratio for Drone Cameras
Image source: english.onlinekhabar.com
What is an Aspect Ratio?
Simply put, an aspect ratio describes the proportional relationship between an image’s width and its height. It’s usually expressed as two numbers separated by a colon (e.g., 16:9, 4:3). For instance, a 16:9 ratio means that for every 16 units of width, there are 9 units of height. This proportion remains constant regardless of the image’s overall size in pixels or print dimensions. A small 1920×1080 image and a large 3840×2160 image both share the same 16:9 aspect ratio.
| Image Aspect Ratio | Typical Applications | Pros (Advantages) | Cons (Considerations) |
|---|---|---|---|
| 4:3 | Standard photography, general purpose, print, vertical compositions. | Utilizes maximum sensor height; flexible for post-production cropping to other ratios (e.g., 16:9, 1:1); ideal for detailed subjects. | Less “cinematic” feel for video without heavy cropping; can appear less expansive on modern widescreen displays. |
| 16:9 | Standard video recording, cinematic landscapes, modern display compatibility (TVs, monitors, smartphones). | Native fit for most screens; provides a wide, immersive, and cinematic view; excellent for capturing vast horizons. | Often a horizontal crop from a 4:3 sensor for photos, losing vertical information; less flexible for vertical framing. |
| 3:2 | Professional photography, print, often found on higher-end drone cameras (e.g., DJI Mavic 3, Inspire series). | Common among DSLR/mirrorless photographers; good balance between width and height for a classic photographic look. | Not universally available on all consumer drones; less common for video output than 16:9. |
| 1:1 | Social media posts (Instagram, Facebook), profile pictures, artistic square compositions. | Optimized for square-focused platforms; can lead to balanced, strong compositions; simplifies framing for specific uses. | Significant crop from most drone sensors (typically 4:3 or 3:2), resulting in reduced effective resolution and less data. |
- Width:Height Relationship: The core definition.
- Proportional, Not Absolute: It dictates shape, not size.
- Impacts Framing: Directly influences how much of the scene is captured and the image’s overall feel.
Why Aspect Ratios Matter for Drone Pilots
For drone pilots, understanding aspect ratios is critical for several reasons:
- Compositional Control: The chosen ratio defines the frame within which you compose your shot. A wider ratio (like 16:9) naturally lends itself to sweeping landscapes, while a squarer ratio (like 4:3 or 1:1) might be better for isolating specific subjects or creating a balanced, symmetrical look. Knowing your ratio helps you pre-visualize the final image even before you press the shutter button.
- Optimizing for Output: Your stunning aerial photographs are meant to be seen. Whether they’re destined for Instagram, a professional print, a website portfolio, or integrated into a video, each medium often has a preferred or optimal aspect ratio. Shooting in a ratio that aligns with your intended output minimizes cropping and potential loss of detail, preserving your artistic vision.
- Workflow Efficiency: By making an informed decision about your aspect ratio in-camera, you can reduce the amount of post-processing work required. While you can always crop an image later, starting with a suitable ratio ensures you capture the most relevant information and avoid awkward empty spaces or critical elements being cut off.
- Cinematic vs. Photographic Feel: Different ratios evoke different feelings. The wide 16:9 is inherently cinematic, reminiscent of movie screens. The 4:3 often feels more traditional and balanced for still photography. Understanding these nuances helps you convey the desired mood and aesthetic in your drone imagery.
Common Aspect Ratios in Drone Cameras and Their Applications
Most modern drone cameras, from entry-level models to professional-grade platforms, offer a selection of aspect ratios. Understanding the characteristics and common uses of each will greatly assist you in determining the best image ratio for a drone camera for your specific needs.
Learn more about what’s the best image ratio for a drone camera – Best Image Ratio for Drone Cameras
Image source: babysignlanguage.com
4:3 – The Traditional Workhorse
The 4:3 aspect ratio is a classic in photography, originating from early film cameras and televisions. Many drone cameras, especially DJI models, often have 4:3 as their native sensor ratio. This means the camera’s sensor captures the most information in this format, and other ratios are essentially crops of this native capture.
- Characteristics: Taller and squarer than 16:9. It provides more vertical space within the frame.
- Advantages:
- Maximum Sensor Utilization: Often uses the most pixels from your drone’s sensor, resulting in the highest resolution image possible. This gives you more data to work with in post-processing.
- Flexibility for Cropping: The additional vertical information offers greater flexibility to crop to other ratios (like 16:9 or 1:1) later without losing crucial horizontal details.
- Classic Photographic Feel: Familiar to many photographers, it provides a balanced frame for various subjects, from landscapes to architecture.
- Best for:
- General photography where flexibility in post-processing is desired.
- Capturing subjects with significant vertical elements (e.g., tall buildings, mountains).
- When the highest possible resolution is a priority.
- Archival purposes, providing maximum original data.
16:9 – The Cinematic Standard
The 16:9 aspect ratio has become synonymous with widescreen video and modern displays, from your smartphone to your living room TV. It’s often the default for drone video recording and is a popular choice for still images that aim for a cinematic or expansive feel.
- Characteristics: Much wider than 4:3, creating a panoramic, elongated frame.
- Advantages:
- Cinematic Look: Instantly gives images a professional, film-like appearance.
- Ideal for Landscapes: Perfect for sweeping aerial landscapes, horizons, and showcasing the vastness of a scene.
- Seamless Video Stills: If you’re primarily shooting video and occasionally grabbing stills, shooting 16:9 ensures consistency between your video and photo outputs.
- Optimized for Modern Displays: Fits perfectly on most TVs, monitors, and smartphone screens without black bars.
- Disadvantages:
- Less Vertical Information: You lose vertical data compared to 4:3, which can be limiting if you later decide you needed more height.
- Less Cropping Flexibility: Cropping to other ratios (especially 1:1 or 4:3) might result in significant loss of horizontal information.
- Best for:
- Wide-angle landscape photography.
- Creating a cinematic aesthetic.
- Images intended for video integration or display on widescreen monitors.
- When the horizontal emphasis is paramount.
3:2 – The Photographer’s Favorite (DSLR Standard)
The 3:2 aspect ratio is the standard for most DSLR and mirrorless cameras, offering a slightly wider frame than 4:3 but not as expansive as 16:9. Some higher-end drone cameras (like those with larger sensors) may offer 3:2 as a native or near-native option.
- Characteristics: A comfortable middle ground between 4:3 and 16:9, offering a good balance of width and height.
- Advantages:
- Balanced Composition: Provides a natural, balanced frame that feels intuitive for many photographers.
- Excellent for Prints: Often aligns well with standard photo print sizes (e.g., 4×6, 8×12 inches), minimizing cropping for physical outputs.
- Familiarity: If you’re coming from traditional photography, 3:2 feels very natural and familiar.
- Best for:
- Hybrid drone pilots who also shoot with traditional cameras.
- Images intended for high-quality prints.
- General aerial photography where a classic photographic feel is desired.
1:1 – The Square for Social Media
The 1:1 aspect ratio, or “square” format, has gained immense popularity due to social media platforms like Instagram, which traditionally favored square images. While not native to most drone sensors, it’s a common in-camera option or a frequent crop during post-processing.
- Characteristics: Equal width and height, creating a perfect square.
- Advantages:
- Social Media Optimization: Perfect for Instagram feeds and many other platforms that display square thumbnails or crops.
- Strong Compositional Impact: The square frame forces careful composition, often leading to very strong, focused images. It eliminates the need to consider horizontal vs. vertical emphasis.
- Modern Aesthetic: Has a clean, contemporary feel.
- Disadvantages:
- Significant Cropping: If your drone’s native ratio is 4:3 or 16:9, shooting or cropping to 1:1 will mean losing a substantial amount of information, either horizontally or vertically.
- Less Versatile for Other Outputs: Not ideal for widescreen displays or traditional prints without awkward borders.
- Best for:
- Images primarily intended for social media sharing.
- Abstract compositions or symmetrical subjects.
- When a strong, focused, and intimate feel is desired.
Matching Your Image Ratio to Your Output Destination
The destination of your drone photos is perhaps the most significant factor in determining the best image ratio for a drone camera in any given scenario. An image perfectly optimized for Instagram might look awkward on a large print, and vice-versa. Thinking about your output destination *before* you fly can save you a lot of headache in post-processing.
For Print: High-Resolution and Flexible Cropping
When preparing images for print, resolution and flexibility are key. Printers require a certain pixel density (DPI/PPI) for sharp results. More pixels generally mean more room to crop without sacrificing quality.
- Recommendation: Shoot in your drone’s native (highest resolution) aspect ratio, which is often 4:3. This gives you the maximum amount of information to work with.
- Why: The extra vertical (and sometimes horizontal) data in a 4:3 image provides more options to crop to standard print sizes like 8×10 (4:5), 5×7 (5:7), or 4×6 (2:3) later on, while maintaining high detail. You can always crop away, but you can’t add data that wasn’t captured.
- Tip: If you know you’re targeting a specific print size, mentally frame your shot for that size, but still capture in 4:3 to give yourself a safety margin.
For Social Media: Tailoring Your Visuals
Social media platforms have specific display preferences, and optimizing for them can dramatically increase engagement.
- Instagram:
- Feed (Single Image): Historically 1:1, but now supports 4:5 (portrait) and 1.91:1 (landscape). The 4:5 portrait is excellent for maximizing vertical screen space.
- Stories: Full-screen vertical, 9:16. While drones don’t typically shoot 9:16 stills, you can crop a wider image strategically.
- Facebook: Very flexible, but wider images (16:9) and square (1:1) perform well. Often crops to 1:1 in feeds.
- Twitter: Supports various ratios, but 16:9 is common for landscape, and taller aspect ratios can perform well on mobile.
- Recommendation: Consider shooting 4:3 or even 16:9, then crop to 1:1 or 4:5 in post for social media. If your primary goal is Instagram, shooting 4:3 gives you the most flexibility to crop to either 1:1 or 4:5 while retaining good resolution.
- Tip: If you frequently post to a specific platform, do a test shot and see how different ratios appear in its feed or grid.
For Video (Stills from Footage): Seamless Integration
If you’re pulling still frames from your drone video footage, your options are typically limited to the video’s aspect ratio.
- Recommendation: Your video will almost certainly be 16:9 (or perhaps 2.35:1 for very cinematic looks). Therefore, any stills extracted will inherently be 16:9.
- Why: To maintain visual consistency. If you want high-quality stills from your video, ensure your video resolution is high (e.g., 4K or 5.4K) so the individual frames have sufficient pixel data.
- Tip: Some drones allow you to shoot DNG RAW stills at the same time as video. This is ideal if you need high-quality separate photos alongside your video, giving you more aspect ratio flexibility for the stills.
For Web Galleries and Portfolios: Universal Appeal
When showcasing your work on a website or online portfolio, you want your images to look good on a variety of screen sizes and devices.
- Recommendation: A combination of 4:3 and 16:9 often works best. 4:3 provides a more traditional photo album feel, while 16:9 excels for hero shots or full-width banners.
- Why: 4:3 offers a balanced look for grids and galleries. 16:9 can be effective for showcasing expansive drone shots as banners or full-screen features, especially on desktop monitors.
- Tip: Many website builders are designed to handle different aspect ratios gracefully. Ensure your website theme is responsive, so images adjust well to mobile screens.
Advanced Considerations: Composition, Cropping, and Post-Processing
Beyond the basics, there are several advanced concepts and techniques that will further refine your understanding of what constitutes the best image ratio for a drone camera in various scenarios. Mastering these can significantly enhance your creative control and the quality of your final output.
The Flexibility of Shooting Wider (or Taller)
A common piece of advice in photography is to “shoot wide and crop later.” This generally means capturing more of the scene than you initially think you need, especially with the drone’s native aspect ratio (often 4:3).
- Benefit of 4:3: By shooting 4:3, you’re capturing the maximum amount of vertical information your sensor allows. This gives you ample room to crop down to a 16:9 cinematic ratio, a 1:1 square for social media, or a 3:2 print ratio without significant loss of quality or having to upscale.
- The “Safety Net”: Think of the extra data as a safety net. It allows you to refine your composition in post-processing, straighten horizons, or even adjust for slight misalignments without losing critical elements at the edges.
- When to Consider 16:9 In-Camera: If you are absolutely certain your image will *only* ever be viewed in 16:9, and you’re aiming for a very specific cinematic feel right out of the camera, then shooting 16:9 can be beneficial. It helps you compose directly within that frame, reducing distractions outside the desired aspect. However, for most situations, the flexibility of 4:3 is superior.
The Role of Sensor Size and Megapixels
The total resolution (megapixels) and physical size of your drone’s sensor directly impact the quality and flexibility when changing aspect ratios.
- Higher Megapixels, More Freedom: A drone camera with a higher megapixel count (e.g., 48MP, 20MP) provides more pixels, regardless of the aspect ratio. This means you have more data to work with when cropping, allowing you to crop more aggressively to achieve a desired ratio without significantly compromising image quality.
- Sensor Size Matters: Larger sensors (e.g., 1-inch sensor found in DJI Mavic 3, Air 2S) capture more light and detail, leading to better overall image quality. Even if you crop these images, the resulting cropped image might still be superior in quality to an uncropped image from a smaller sensor drone.
- Recommendation: Always shoot at the highest native resolution and preferred aspect ratio (often 4:3) to maximize your post-processing options, especially if your drone has a smaller sensor or lower megapixel count.
When to Stick to a Ratio In-Camera
While flexibility is often championed, there are times when committing to an aspect ratio in-camera is advantageous:
- For Client Deliverables: If a client specifically requests images in a particular aspect ratio (e.g., 16:9 for a real estate listing), shooting directly in that ratio can streamline your workflow and ensure you frame perfectly for their needs.
- For Specific Artistic Intent: Sometimes, the limitations of a specific ratio can foster creativity. If you want to force yourself to compose within a square for artistic reasons, shooting 1:1 in-camera can be a powerful discipline.
- When File Size is a Concern: Cropping in-camera to a 16:9 or 1:1 ratio will result in smaller file sizes compared to a full 4:3 image, which might be useful if storage space or transmission speed is a concern (though this is less common with modern drones and storage).
Leveraging Post-Processing for Ratio Adjustments
Post-processing software like Adobe Lightroom, Photoshop, or even free alternatives offer robust tools for adjusting aspect ratios.
- Non-Destructive Editing: When you crop in these programs, you’re usually not permanently discarding pixels from the original RAW file (if you shot RAW). You can always go back and adjust your crop later.
- Previewing Ratios: Most software allows you to preview different aspect ratios (1:1, 4:5, 16:9, etc.) as you crop, helping you visualize the final output before committing.
- Fine-Tuning Composition: Cropping in post allows you to fine-tune your composition after reviewing the image on a larger screen, making slight adjustments that might not have been apparent on your drone’s smaller monitor.
- Consistency: You can apply the same crop to multiple images in a series to maintain a consistent look across your portfolio.
Data Table: Quick Reference Guide to Aspect Ratios and Their Best Uses
To help you quickly decide which aspect ratio might be the best image ratio for a drone camera in a given scenario, here’s a handy reference table summarising the key aspects discussed:
| Aspect Ratio | Description | Common Uses & Strengths | Considerations & Weaknesses | Best For (Example) |
|---|---|---|---|---|
| 4:3 | Traditional photo format, taller than 16:9. Often native sensor ratio. | Maximum resolution & sensor data. Highly flexible for post-crop to other ratios. Good for vertical subjects. | May not feel “cinematic” for video-focused content. Requires more post-processing for specific outputs. | General aerial photography, architecture, landscape with tall elements, high-res prints, ultimate cropping flexibility. |
| 16:9 | Widescreen, cinematic format. Standard for video. | Cinematic look. Ideal for expansive landscapes, horizons. Optimized for modern displays (TVs, monitors). | Less vertical data than 4:3. Less flexible for cropping to square or traditional print ratios. | Sweeping landscapes, cinematic stills, images for video integration, web banners. |
| 3:2 | Standard DSLR/mirrorless photo format. Balanced. | Familiar for traditional photographers. Excellent for standard print sizes (e.g., 4×6, 8×12). Good balance of width & height. | Not always a native drone sensor ratio (may be a crop). Not ideal for very specific social media crops (e.g., 1:1). | Professional photography portfolios, high-quality prints, hybrid drone/traditional photographers. |
| 1:1 | Perfect square format. | Ideal for social media (especially Instagram feeds). Strong, balanced, and focused compositions. Modern aesthetic. | Significant cropping required if not native, leading to loss of original image data. Less versatile for widescreen or print. | Instagram posts, abstract drone art, symmetrical subjects, emphasizing a central element. |
Actionable Tips for Choosing Your Best Image Ratio
With a deeper understanding of aspect ratios, let’s distill this knowledge into some actionable strategies for you to employ on your next drone flight. Finding the best image ratio for a drone camera for your specific project often comes down to thoughtful planning and experimentation.
1. Know Your End Goal First
This is perhaps the most crucial tip. Before you even launch your drone, consider where your images will ultimately live. Are they for a client’s website (likely 16:9 or various), a personal Instagram feed (1:1 or 4:5), a large fine-art print (flexible, high-res 4:3), or a mix of everything?
Knowing this will heavily influence your in-camera choice or at least guide your compositional decisions for later cropping.
2. When in Doubt, Shoot 4:3 (RAW)
If your drone offers 4:3 as its native (or highest resolution) aspect ratio, and you’re unsure of the final output, shooting in 4:3 RAW provides the maximum amount of image data. This gives you the most flexibility to crop to virtually any other aspect ratio in post-processing without significant quality loss, assuming you have sufficient megapixels.
- Maximizes data: More pixels, more detail.
- Future-proofs your images: Allows for adaptation to new platforms or print sizes.
- Non-destructive cropping: RAW files preserve original data even after cropping.
3. Compose for Multiple Ratios (Mentally)
Even if you shoot 4:3, practice mentally framing for other ratios. For instance, if you’re shooting a landscape that would look great in 16:9, compose your shot with the top and bottom of a hypothetical 16:9 crop in mind, ensuring no crucial elements are in those “crop zones.” Many drone apps have framing guides or overlays you can activate to help with this.
4. Experiment and Learn from Your Drone
Don’t be afraid to try different ratios. Take the same shot in 4:3 and then 16:9 (if your drone allows separate still ratio settings), and compare them in post. See how your drone’s specific lens and sensor perform with each. Does one ratio feel more natural for your drone’s field of view? Understanding your equipment’s characteristics is vital.
5. Embrace Post-Processing for Fine-Tuning
While making good decisions in-camera is essential, remember that aspect ratio adjustments are one of the most common and powerful tools in post-processing. Use it to your advantage to perfect your compositions and tailor your images precisely for their intended use. This is where you truly define the final visual story.
6. Consider the Rule of Thirds Within Each Ratio
The Rule of Thirds is a compositional guideline that applies regardless of the aspect ratio. When choosing a ratio, visualize how your key elements (horizon, subject, leading lines) align with the grid lines of that specific ratio. A square (1:1) grid will feel different than a widescreen (16:9) grid, influencing where you place your points of interest.
Conclusion
Determining the best image ratio for a drone camera isn’t about finding a single, definitive answer that applies to every situation. Instead, it’s about making an informed, strategic choice that aligns with your creative vision, the technical capabilities of your drone, and the specific platforms where your aerial masterpieces will be shared. Whether you’re chasing the expansive feel of 16:9, the photographic flexibility of 4:3, the traditional balance of 3:2, or the social media-friendly punch of 1:1, each aspect ratio offers unique advantages and contributes differently to the narrative of your image.
By understanding the nuances of each common ratio, considering your output destinations, and leveraging the power of both in-camera settings and post-processing tools, you empower yourself to take full control of your drone photography. Don’t be afraid to experiment, analyze your results, and let your artistic intuition guide you. The true “best” ratio is the one that most effectively conveys your message, captivates your audience, and brings your aerial vision to life with unparalleled clarity and impact.
🎥 Related Video: Drone Settings For The Best Video Quality 2023
📺 Zac Watson
My Beginners Photography Course – http://bit.ly/3Cela63 Cinematic Video Luts – https://bit.ly/3tr58Se NEW Lightroom Presets …
Frequently Asked Questions
What’s the best overall image ratio for drone cameras?
The “best” image ratio often depends on your intended use, but 4:3 and 16:9 are the most common choices for drone cameras. 4:3 provides more vertical information, offering greater flexibility for cropping, while 16:9 gives a cinematic widescreen look. Consider where your photos will be viewed to make the optimal decision.
When should I use the 4:3 image ratio on my drone camera?
The 4:3 image ratio is excellent for general drone photography, especially if you’re unsure of the final output or want maximum cropping flexibility. It’s the traditional aspect ratio for many cameras and often captures the most vertical information from your drone’s sensor. This makes it versatile for different compositions and printing sizes.
What are the benefits of shooting in a 16:9 image ratio with a drone camera?
Shooting in 16:9 with your drone camera offers a distinct cinematic feel, ideal for landscape shots or if you plan to integrate your photos into video projects. This widescreen ratio perfectly matches modern displays and TVs, providing an immersive viewing experience without black bars. It’s a great choice for a polished, movie-like aesthetic.
Is the 3:2 image ratio a good choice for drone photography?
The 3:2 image ratio, common in DSLR and mirrorless cameras, can also be a good choice for drone photography if your drone supports it. It offers a slightly wider frame than 4:3 while still providing ample vertical space, making it a versatile option for both printing and digital display. This ratio can provide a balanced composition for many aerial scenes.
Which image ratio is best for social media platforms when using a drone camera?
For social media platforms, there isn’t one single “best” drone camera image ratio, as different platforms and posts (feed, stories) have varying optimal dimensions. However, starting with a 4:3 or 3:2 ratio gives you more flexibility to crop into popular social media ratios like 1:1 (square), 4:5 (vertical), or 9:16 (stories) without losing too much detail. Always consider the platform’s specific recommendations for best results.
Can I change the image ratio after taking a photo with my drone camera?
Yes, you can change the image ratio after taking a photo by cropping it in post-processing software. While this provides flexibility, it’s generally best to shoot in an image ratio close to your desired final output to maximize resolution and avoid unnecessary loss of pixels. Cropping always reduces the total pixel count, so compose carefully in-camera whenever possible.
